Style Guide · February 5, 2026 · 6 min
The Art of the Patch: How to Design a Trucker Hat That Tells Your Story
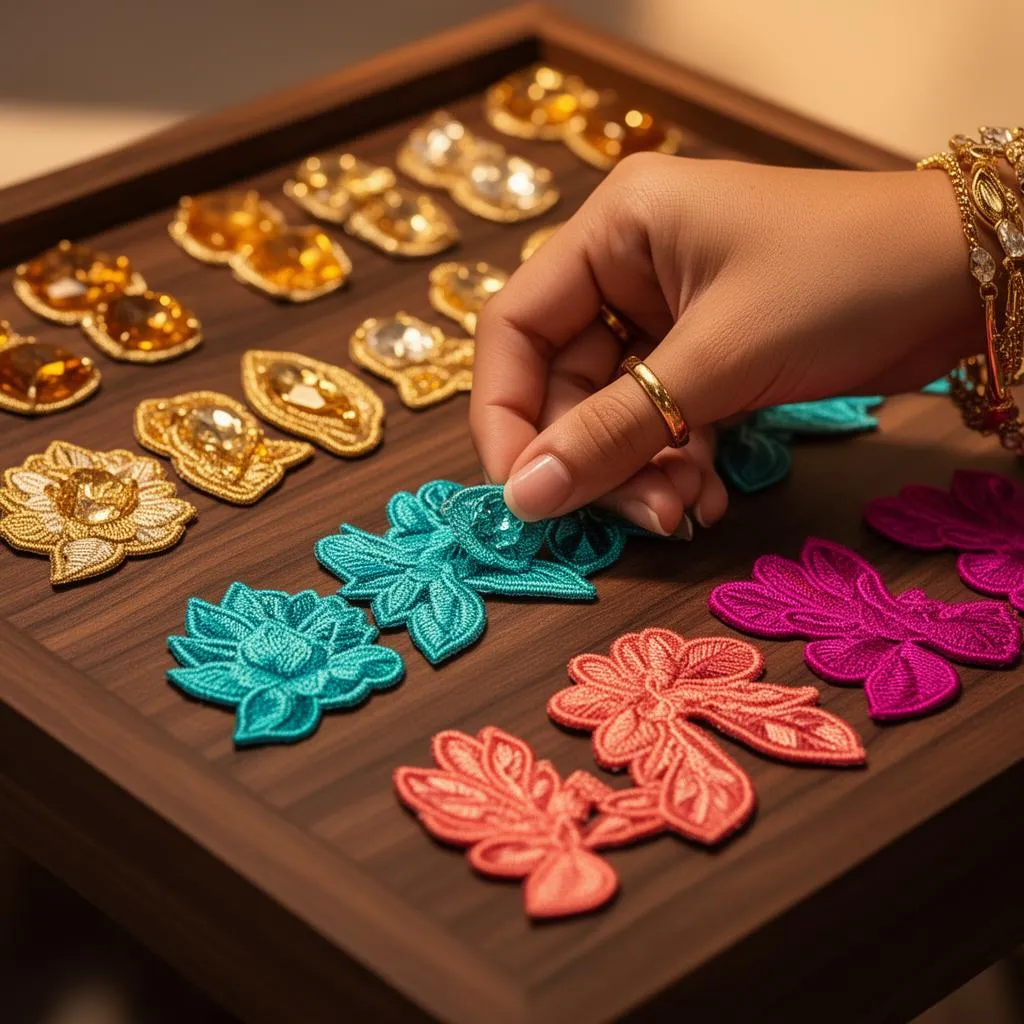
Every guest who steps up to our patch wall faces the same delicious problem: forty great patches, one hat, no do-overs once the press comes down. The ones who build the best hats aren’t the ones with the best taste. They’re the ones who know a few rules.
Consider this your cheat sheet. Whether you’re building one hat at an event or designing a custom patch for two hundred, the principles are the same.
Know Your Patch Types
Patches aren’t interchangeable. Each construction has a personality, and picking the right one is half the design.
Chenille is the varsity-jacket patch: raised, fuzzy, unapologetically dimensional. Chenille shouts. It’s built for letters, initials, and bold simple shapes, because the loops of yarn can’t render fine detail. If you want the hat to read from across the room, chenille is your lead singer.
Embroidered patches are the classic: thread stitched into twill, with real texture and a slight sheen. Embroidery handles moderate detail well and gives you that traditional, earned-badge feel. It’s the workhorse of hat design, equally at home on a wedding hat and a company logo.
Woven patches are the detail specialists. Thinner threads woven flat mean crisp lines, small text, and complex artwork that embroidery would turn to mush. The trade-off is texture: woven patches are smooth and refined rather than tactile. When a brand logo has fine typography, woven is usually the answer.
Quick rule: chenille for impact, embroidered for character, woven for precision.
One Hero, Supporting Cast
The most common patch-wall mistake is democracy. Six patches, all the same size, all fighting for attention. The hat ends up saying everything, which means it says nothing.
Great hats have a hierarchy. Pick one hero patch, the biggest and boldest, and give it the prime real estate: front and center on the panel. Everything else is supporting cast, smaller and placed off to the sides or on the brim edge. Think of it like a band: one lead, a couple of harmonies, no eleven-way guitar solo.
Two patches is elegant. Three is a story. Five is a yard sale.
Placement Is a Language
Where a patch sits changes what it means.
Front and center is the headline. This is your identity slot: the initial, the logo, the statement.
Off-center or low corner reads as a wink, an inside joke, the detail people notice second. Small patches live well here.
The brim is for the bold. A small patch on the brim edge is unexpected and catches eyes in photos.
The side panels work on lower-profile builds, but remember mesh: standard heat-pressed patches need the foam front panel to press against. The front panel is your canvas; treat the real estate accordingly.
And leave breathing room. A patch crowding the seam or the brim line looks like an accident. Centered with margin looks like a decision. On a trucker hat’s tall front panel, slightly above center almost always beats dead middle, because the brim visually eats the bottom third.
Mixing Without Matching
Can you mix chenille with embroidered with woven on one hat? Absolutely, and the best builds usually do. The trick is contrast with a through-line.
Vary the scale: one big, one medium, one small. Vary the texture: fuzzy hero, flat accents. But keep one thing consistent, usually color. Pull one color from your hero patch and echo it in the supporting patches, or keep all patches in a tight palette against a neutral hat. A white hat with three patches sharing a thread of forest green looks curated. Three patches sharing nothing looks like the lost-and-found bin.
When in doubt, let the hat color do the unifying work. Neutral hats (white, tan, black, navy) can carry loud patch mixes. Loud hats want quiet patches.
Designing a Custom Patch That Works on a Hat
If you’re creating a custom patch for a wedding, a team, or a brand, design for the medium. A patch is not a business card.
- Simplify. Your logo’s fine print won’t survive at three inches wide. Cut it to the essential mark.
- Go bold on contrast. The patch needs to pop off the hat from six feet away, because that’s where photos happen.
- Mind the shape. Circles, shields, and arched text follow the front panel’s geometry better than wide rectangles.
- Pick the construction for the artwork. Detailed logo, woven. Simple monogram, chenille. Classic crest, embroidered.
This matters most for brand activations, where the patch is the brand. A patch guests choose to press onto their own hat gets worn for years; a patch that looks like an ad gets left on the wall. Design something people want as part of their identity, not something that wants their attention. Same story for team hats: the mark that wins is the one players would wear off the field.
Your Story, Pressed in Thread
Here’s the thing about a well-built hat: it’s a tiny autobiography. Hero patch says who you are. Supporting patches say what you love. Placement says how loudly you want to say it. That’s why we call the finished product an artifact, and why we say we curate identities rather than sell hats.
The patch wall is waiting, and now you know how to read it. Book a Brimstreet hat bar for your event, and watch every guest become a designer for one very satisfying press of the heat plate.